express
fly.io 배포
알럽유
2024. 1. 12. 01:00
728x90

npm i express


# npm
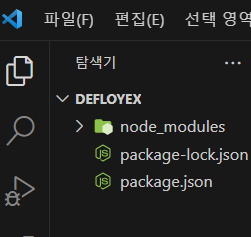
node_modules
package-lock.json
*.log
*.gz

# Coveralls
.nyc_output
coverage

# Benchmarking
benchmarks/graphs
app.js
// app.js
import express from "express";

const app = express();
const port = 3000;

app.get("/", (req, res) => {
  res.send("Hello World!");
});

app.get("/about", (req, res) => {
  res.send("About!");
});

app.get("/setting", (req, res) => {
  res.send("Setting!");
});

app.listen(port, () => {
  console.log(`Example app listening on port ${port}`);
});
package.json
// package.json
{
  "dependencies": {
    "express": "^4.18.1"
  },
  "type": "module"
}
MacOS 에서 설치
일반적으로 MacOS를 사용하는 유저라면, homebrew 를 사용합니다. homebrew 를 통하면 비교적 간단하게 flyctl 을 설치할 수 있습니다.
brew install flyctl그러나, 만일 homebrew 를 사용하지 않는다면 curl 을 통하여 설치 가능합니다.
curl -L https://fly.io/install.sh | shWindows 에서 설치
윈도우는 새로운 버전의 powershell 을 통하여 설치 가능합니다. 우선 powershell 을 관리자 권한 으로 실행한 후, 하기의 명령어를 실행하여 봅시다.
iwr https://fly.io/install.ps1 -useb | iex또는
pwsh -Command "iwr https://fly.io/install.ps1 -useb | iex"
flyctl 설치 확인
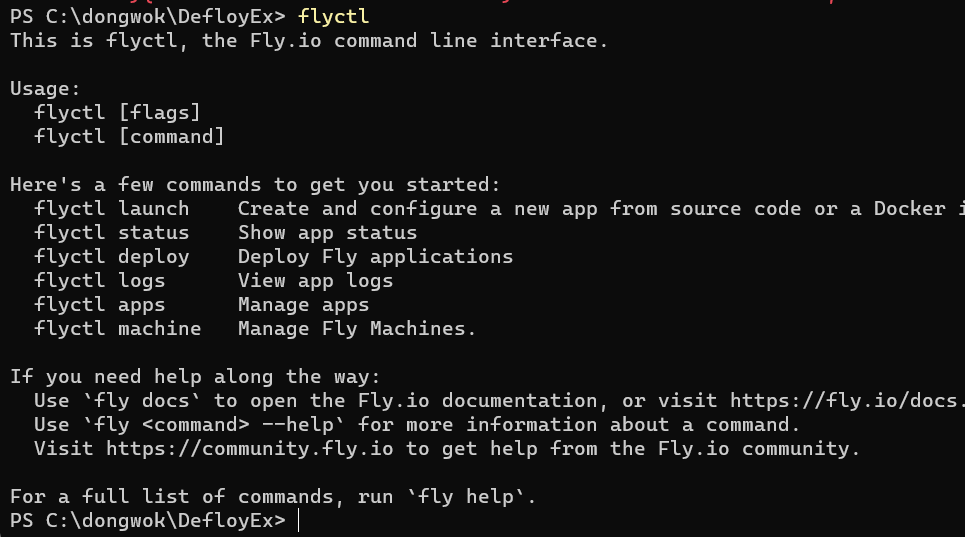
flyctl 이 정상적으로 설치되었는지 확인하기 위하여, 운영체제의 터미널을 실행하여 아래의 명령어를 입력하여 동작하는지 확인합니다.
flyctl만일 정상적으로 설치되었다면, fly 와 관련된 내용이 출력될 것입니다.

flyctl 을 이용하여 fly.io 에 로그인
flyctl 을 이용하여 fly 서비스와 연동하기 위해서는 계정을 연동하여야 합니다.
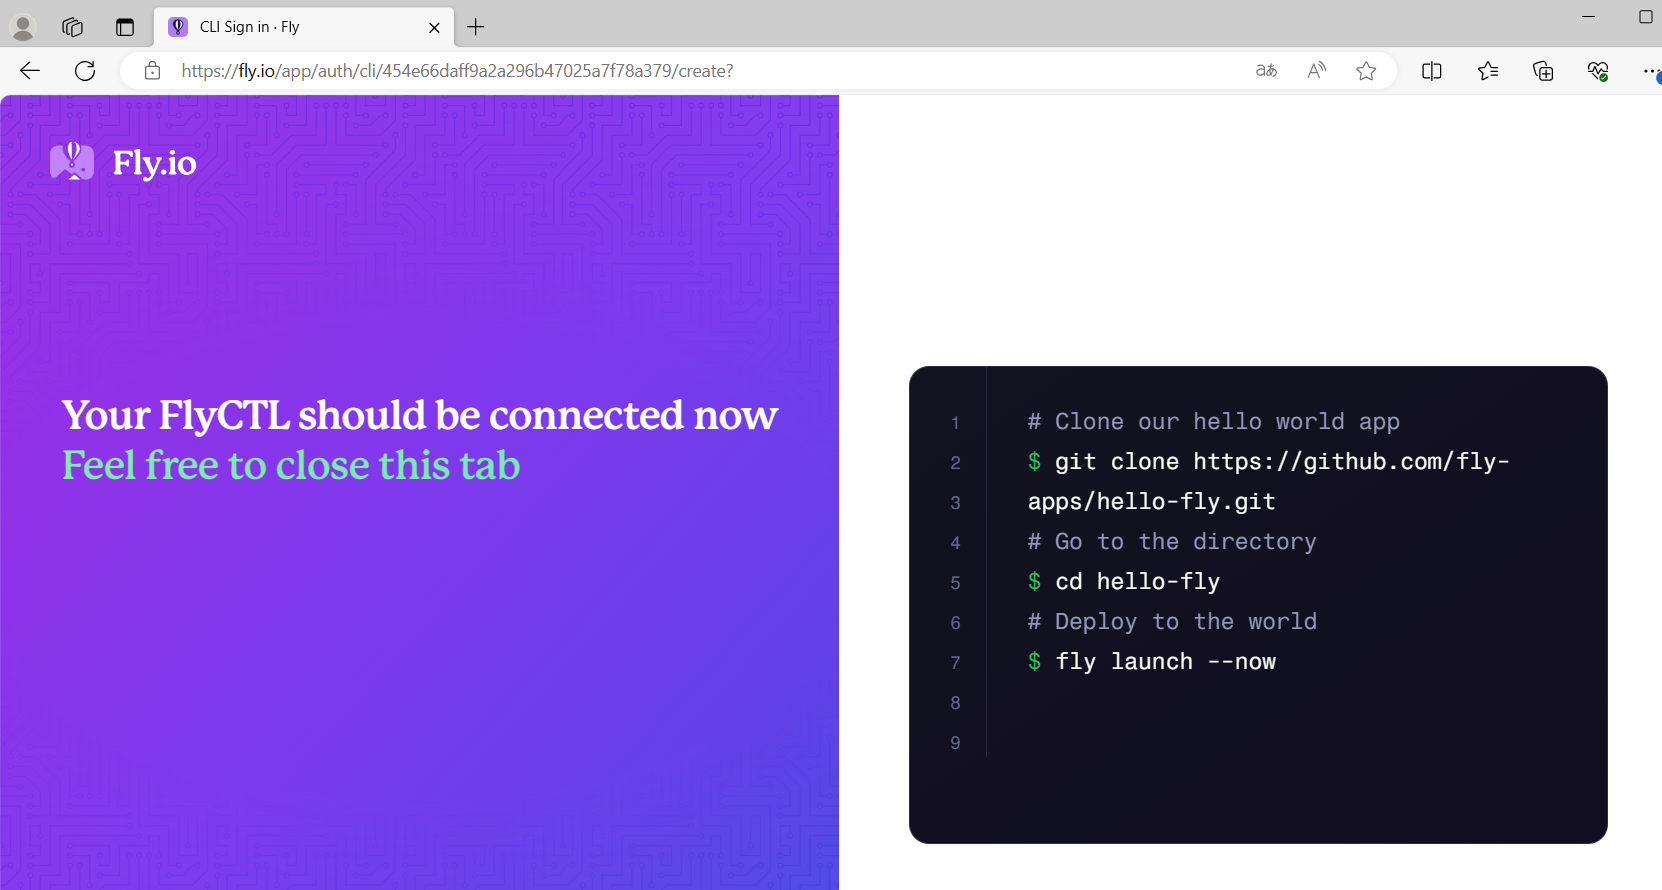
flyctl auth login명령어를 입력하면 fly 서비스 페이지와 함께 로그인을 할 수 있게 됩니다.

flyctl 을 이용한 docker 어플리케이션 배포
이번 절에서는 flyctl 을 통해서 docker 어플리케이션을 빌드하고 배포하는 방법에 대해서 간략히 서술했습니다.
Dockerfile 이 있는 프로젝트의 경로에서 터미널을 실행합니다. 그 후, 하기의 명령어를 입력합니다.
fly launch
체크사항
package.json
"scripts": {
    "dev": "nodemon app.js",
    "start": "node app.js",
    "test": "echo "Error: no test specified" && exit 1"
  }