ASP.NET Core MVC 모델을 이용해서 게시판 만들기 (4) Detail, Edit 페이지 만들기
2024. 7. 30. 16:33ㆍMVC
728x90
이전시간에 ListPage.cshtml 파일에서
@model X.PagedList.IPagedList<noticeboard.Models.Noticeboard>

@using X.PagedList.Mvc.Core

@{
    ViewData["Title"] = "ListPage";
}

<div class="Main-container">
    <h2 class="h2">게시글 목록</h2>

    @if (Model == null || !Model.Any())
    {
        <p>게시글이 없습니다.</p>
    }
    else
    {
        <table class="table">
            <thead>
                <tr>
                    <th>번호</th>
                    <th>제목</th>
                    <th>첨부파일</th>
                    <th>등록일</th>
                    <th>등록자</th>
                    <th>조회수</th>
                </tr>
            </thead>
            <tbody>
                @foreach (var post in Model)
                {
                    <tr>
                        <td>@post.Id</td>
                        <td>@Html.ActionLink(post.Title, "Details", new { id = post.Id })</td>
                        <td>
                            @if (!string.IsNullOrEmpty(post.Filepath))
                            {
                                <a href="@Url.Action("DownloadFile", "Main", new { filePath = post.Filepath, fileName = post.Filename })">첨부파일</a>
                            }
                        </td>
                        <td>@post.Date.ToShortDateString()</td>
                        <td>@post.Author</td>
                        <td>@post.Views</td>
                    </tr>
                }
            </tbody>
        </table>
        <div>
            @Html.PagedListPager(Model, page => Url.Action("ListPage", new { page }), new PagedListRenderOptions
   {
       UlElementClasses = new[] { "pagination" },
       LiElementClasses = new[] { "page-item" },
       PageClasses = new[] { "page-link" }
   })
        </div>
    }
</div>
제목을 클릭하면 Detail 페이지로 이동한다.
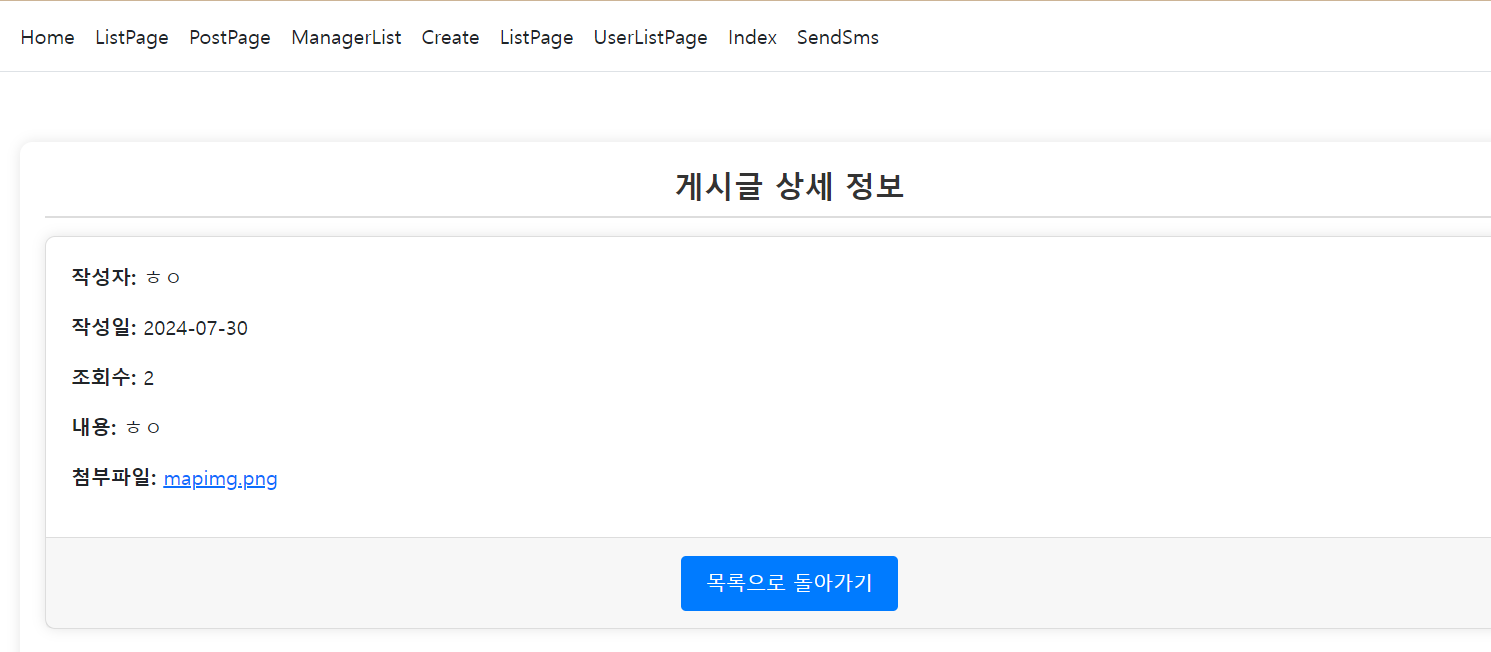
Detail.cshtml
@model noticeboard.Models.Noticeboard

@{
    ViewData["Title"] = "Details";
}

<div class="Main-container">
    <h2 class="h2">게시글 상세 정보</h2>
    <div class="card">
        <div class="card-body">
            <p style="text-align: left;"><strong>작성자:</strong> @Model.Author</p>
            <p style="text-align: left;"><strong>작성일:</strong> @Model.Date.ToShortDateString()</p>
            <p style="text-align: left;"><strong>조회수:</strong> @Model.Views</p>
            <p style="text-align: left;"><strong>내용:</strong> @Model.Content</p>
            @if (!string.IsNullOrEmpty(Model.Filepath))
            {
                <p style="text-align: left;">
                    <strong>첨부파일:</strong>
                    <a href="@Url.Action("DownloadFile", "Main", new { filePath = Model.Filepath, fileName = Model.Filename })" target="_blank">@Model.Filename</a>
                </p>
            }
        </div>
        <div class="card-footer">
            <a asp-action="ListPage" class="D_button">목록으로 돌아가기</a>
        </div>
    </div>
</div>
@Html.ActionLink(post.Title, "Details", new { id = post.Id })
게시글 제목에 대한 링크를 생성하여 상세 페이지로 이동할 수 있습니다.
또 ListPage에서 수정 버튼을 누르면 Edit 페이지로 이동한다.
@model noticeboard.Models.Noticeboard

@{
    ViewData["Title"] = "Edit Post";
}
<div class = "Main-container">
<h2 class="h2">수정 페이지</h2>

<form asp-action="Edit" method="post" enctype="multipart/form-data">
    <div class="form-group">
        <label asp-for="Title" class="control-label"></label>
        <input asp-for="Title" class="form-control" />
        <span asp-validation-for="Title" class="text-danger"></span>
    </div>
    <div class="form-group">
        <label asp-for="Content" class="control-label"></label>
        <textarea asp-for="Content" class="form-control"></textarea>
        <span asp-validation-for="Content" class="text-danger"></span>
    </div>
    <div class="form-group">
        <label asp-for="Author" class="control-label"></label>
        <input asp-for="Author" class="form-control" />
        <span asp-validation-for="Author" class="text-danger"></span>
    </div>
    <div class="form-group">
        <label asp-for="Filepath" class="control-label">파일 업로드 (선택 사항)</label>
        <input class="form-control" type="file" name="uploadedFile" />
        <span asp-validation-for="Filepath" class="text-danger"></span>
    </div>
    @if (!string.IsNullOrEmpty(Model.Filepath))
    {
        <div class="form-group">
            <label class="control-label">기존 파일:</label>
            <p><a href="@Url.Action("DownloadFile", "Main", new { filePath = Model.Filepath, fileName = Model.Filename })">@Model.Filename</a></p>
        </div>
    }
    <button type="submit" class="btn btn-primary">Save</button>

</form>
</div>
<form asp-action="Edit" method="post" enctype="multipart/form-data">
폼을 생성하며, 폼 데이터는 POST 메서드를 통해 제출되고 파일 업로드를 지원합니다.
@if (!string.IsNullOrEmpty(Model.Filepath))
파일이 이미 업로드된 경우 해당 파일을 다운로드할 수 있는 링크를 표시합니다.
'MVC' 카테고리의 다른 글
| ASP.NET Core MVC로 글 작성으로 첨부 파일 올리고 다운로드 가능하게 하기 (2) | 2024.08.07 |
|---|---|
| ASP.NET Core MVC 모델로 팝업창 띄우기 (0) | 2024.08.07 |
| ASP.NET Core MVC모델을 이용해서 게시판 만들기 (4) Views, Models 폴더 (0) | 2024.07.18 |
| ASP.NET Core MVC 모델을 이용해서 게시판 만들기 (3) (0) | 2024.07.15 |
| ASP.NET Core MVC 모델을 이용해서 게시판 만들기 (2) (0) | 2024.07.15 |